How to Tint Car Windows Like a Pro: A Step-by-Step Guide
Want to give your car that sleek, polished look without breaking the bank? Car window tinting isn’t just about style but comfort, protection, and savings. Tinted windows can block harmful UV rays, keep your car cool, and add that professional edge to your ride.
But let’s be honest—tinting your car windows sounds tricky, right? Not anymore! With the right tools, patience, and this step-by-step guide, you’ll discover how to tint car windows like a pro from the comfort of your garage.
Of course, even DIY pros need some help. That’s where SmartFilm comes in. Based in Arizona, SmartFilm specializes in high-quality window tint film and professional installation services, ensuring your car gets the precision and UV protection it deserves. Whether battling the heat or looking for added privacy, their products and services are tailored to meet your needs.
Imagine pulling into a parking lot with perfectly tinted windows that turn heads and protect your skin from harmful rays and your car’s interior from fading.
Ready to upgrade your ride? Keep reading to learn the step-by-step process to tint your car windows and discover how SmartFilm can take your tinting game to the next level!
 What is Car Window Tinting?
Car window tinting applies a thin laminate film to a vehicle’s windows to achieve a sleek, darkened appearance while offering a range of practical benefits. Beyond its sharp, polished look, window tinting is a game-changer for car owners.
By blocking up to 99% of harmful UV rays, tinted windows protect your skin from long-term damage and prevent your vehicle’s interior from fading and cracking. Plus, with reduced visible and IR light, you can keep the temperature inside your car cooler, saving energy when running the AC in scorching weather.
The process involves carefully cutting and applying the tint film to fit the entire window using proper tools like a razor blade, heat gun, and soapy water for smooth installation. When done right, the tint temporarily adheres to the glass, allowing you to position it perfectly without air bubbles or wrinkles. From ceramic window tint for premium UV protection to budget-friendly options, there’s a tint to suit every need.
Whether you’re enhancing privacy, protecting against skin damage, or giving your car a stylish upgrade, window tinting is an investment that pays off. For professional results, trusted providers like SmartFilm can ensure your tint is installed properly, giving your ride the look and comfort it deserves.
Tools and Materials for Car Window Tinting Success
When learning how to tint car windows, having the right tools and materials can make all the difference between a flawless finish and a frustrating mess. Whether you’re a DIY enthusiast or looking for professional results, the following essentials are a must:
- Window Tint Film: Choose high-quality options like ceramic window tint for premium UV protection and cooler interiors. SmartFilm offers a variety of window films tailored to meet your needs.
- Squeegee: This tool ensures the film adheres smoothly without leaving air bubbles or wrinkles.
- Razor Blade or Precision Knife: Perfect for carefully cutting the film to fit the entire window while trimming any excess film.
- Spray Bottle with Soapy Water: A mixture of warm water and a few drops of dish soap helps clean the inside glass and temporarily allows the tint to adhere for easy positioning.
- Heat Gun: This is essential for removing air bubbles and shaping the film to the contours of the glass, especially around the bottom edge or side windows.
- Microfiber Cloth: Use this to wipe away all the dirt and dust from the window before application.
These proper tools ensure your tint is installed properly and lasts for years. If you prefer a hassle-free, professional finish, SmartFilm provides expert installation services and premium-grade tint films that block harmful UV rays, reduce the temperature inside your vehicle, and add a sleek look to your car windows.
 Getting It Right: The Art of Measuring and Cutting Window Tint
When it comes to how to tint car windows, precision starts with proper measuring and cutting. Start by measuring your vehicle’s windows carefully to determine the correct size of the window tint film. For the best results, leaving an extra 2-3 inches around the edges is always a good idea. Why? This extra film allows for slight adjustments during application and ensures you won’t come short.
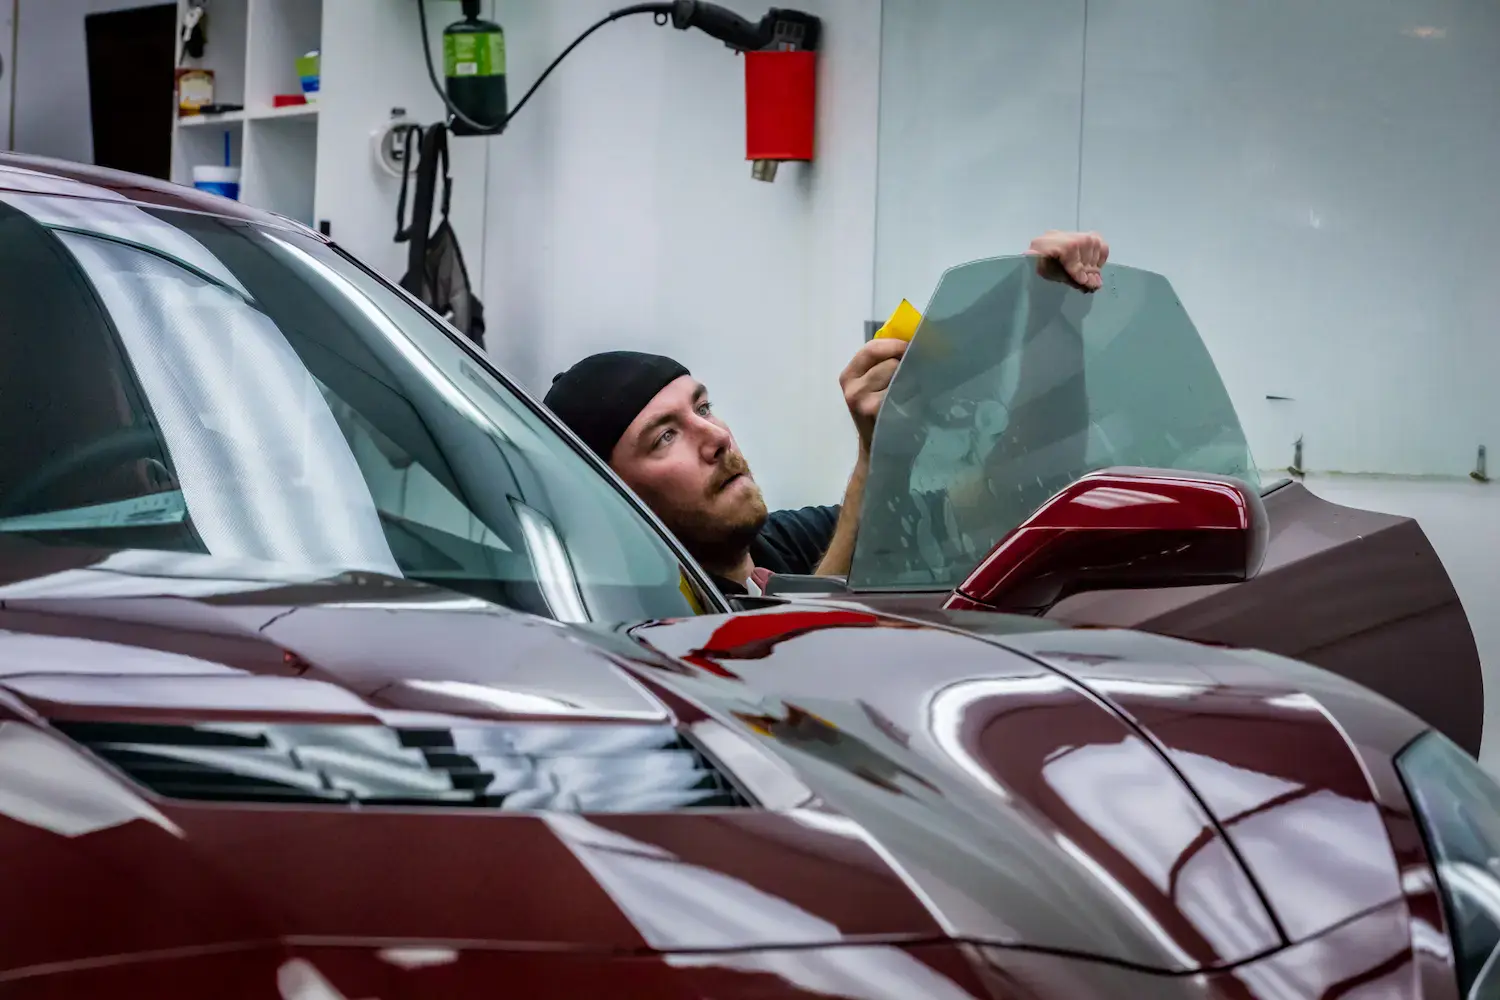
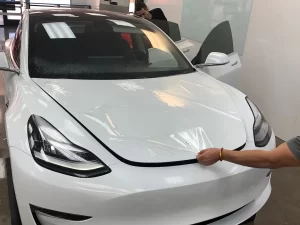
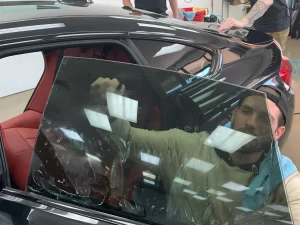
Lay the tint film against the outside of the window and spray it with soapy water. This allows the tint to adhere temporarily and gives you the flexibility to adjust it as needed. Using a razor blade or precision knife, carefully cut along the top edge, bottom edge, and side windows to create a perfect fit. Don’t rush! A clean, straight cut ensures a professional finish and prevents later peeling along the bottom seal.
If you’re new to car window tinting, SmartFilm offers high-quality tint films that are easy to handle and cut, even for beginners. They also provide expert guidance to ensure your tint is measured and trimmed like a pro. Precision is key, and having the right tools—like a squeegee, precision knife, and spray bottle—makes all the difference.
Steps to Apply Window Tint Smoothly
Once you’ve cut the film to size, it’s time for the real magic—applying the tint to your car windows. First, clean the inside glass thoroughly to remove all the dirt or dust particles that can ruin the look of your tint. Use a spray bottle of warm water and dish soap for a streak-free surface.
Next, peel off the release liner to expose the adhesive side of the film. Starting with the top edge, carefully apply the tint to the window, working your way down. Make sure the film aligns perfectly with the window frame. A great tip: start in the center and work outward toward the left and right edges. This method prevents air bubbles from getting trapped under the film.
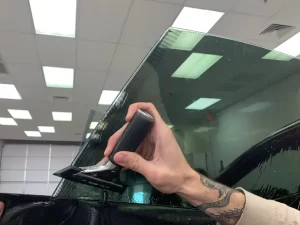
Use a squeegee to press the film firmly against the glass as the tint adheres. Apply even pressure to smooth out the film and push out excess water or air pockets. Pay special attention to the bottom half and corners to avoid creases. A heat gun can help shrink the tint and eliminate stubborn bubbles or wrinkles. Take your time—this step is crucial for a clean, professional look.
For those unsure about their DIY skills, SmartFilm specializes in professional-grade installations, ensuring your tint is installed properly for flawless results. Their expert team uses premium-quality materials like ceramic window tint to deliver the perfect blend of style, durability, and UV protection.
How Long Does the Window Tint Last?
The lifespan of car window tinting depends on the type of film, installation quality, and your car’s exposure to the elements. On average, high-quality window tints last anywhere from 5 to 7 years—or even longer with premium materials like ceramic window tint.
Factors such as harsh sunlight, improper application, or low-grade materials can cause tint films to degrade faster. Cheap tints often fade, bubble, or peel after a few years, leaving your vehicle’s windows worn and unprofessional. However, investing in high-quality tints like SmartFilm offers ensures durability and longevity. Their advanced films block harmful UV rays, reduce the temperature inside your car, and keep interiors looking fresh and new.
SmartFilm doesn’t just provide tint; it provides peace of mind. Their professional-grade products and expert installation protect your tint against time, weather, and wear. Imagine cruising in your car for years with perfectly tinted windows that still look as good as the day they were installed.
 Common Mistakes to Avoid in Tinting Car Windows
- Avoid creasing the film: Ensure the tint film is applied smoothly without any creases. Creases can ruin the look and longevity of your tint. Use a squeegee and patience to press the film evenly.
- Don’t apply tint in direct sunlight or extreme temperatures: The ideal temperature for tinting is between 40°F and 80°F. Applying in direct sunlight or heat can cause the film to bubble or peel. Choose a shaded area for best results.
- Avoid using commercial glass cleaners: Cleaners with ammonia or harsh chemicals can alter the color of your tint and damage the film. Use soapy water to clean the glass before applying tint, ensuring a perfect application.
- Don’t lower the windows immediately: Give the tint time to cure. Avoid rolling down the windows for at least 7 to 10 days after installation to ensure the adhesive fully sets. This will prevent exposed tint from lifting or peeling.
SmartFilm is here to help you avoid these common pitfalls. Their professional-grade window tint film is made to last and withstand harsh conditions.
If you prefer a professional touch, SmartFilm offers expert installation that guarantees flawless results every time. Keep your ride looking sharp and protected—SmartFilm has you covered!
Why SmartFilm Is Your Go-To Tinting Solution
Every step matters to achieve that flawless finish, from measuring and cutting to applying and smoothing. If you’re unsure or want results that stand the test of time, SmartFilm is here to help.
Located in Arizona, SmartFilm offers top-of-the-line window tint film and professional installation services for all car owners. Their high-quality ceramic window tint provides superior UV and IR light protection, keeping your car cool while shielding your skin and interiors from harmful rays.
Whether you’re looking for a sleek dark tint for privacy or a tint that enhances your car’s energy efficiency, SmartFilm has you covered. Their team of experts ensures each tint is installed properly, eliminating air bubbles and ensuring a perfect fit. Why settle for less when you can have tinted windows that look great and last for years?
Upgrade your car with SmartFilm today and experience the ultimate style, comfort, and UV protection blend. You’ll love how your vehicle looks—and feels—every time you hit the road.
Our expert window tinting and paint protection film services in Mesa, Tempe, Gilbert, and the surrounding Arizona metro area will keep your car cooler, protect your loved ones from UV rays, and maintain its pristine condition.
 What is Car Window Tinting?
 Getting It Right: The Art of Measuring and Cutting Window Tint
 Common Mistakes to Avoid in Tinting Car Windows
