How Does a Paint Protection Film Install Work Step by Step?
Protecting your vehicle’s paint has become more than just a matter of pride; it’s a smart investment. The global paint protection film market, for example, was valued at USD 502.55 million in 2024 and is projected to reach about USD 726.63 million by 2030, with a steady annual growth rate near 6.6%.
The reason behind this growth is simple: a professional paint protection film install offers unmatched defense for your vehicle’s paint against rock chips, road debris, UV damage, swirl marks, and environmental pollutants that degrade finish and lower resale value.
Still, many car owners hesitate. Some fear air bubbles, lifting edges, or excess film that ruins the look. Others are unsure whether to attempt the job themselves or hire a professional installer.
But understanding each detail of paint protection film installation, from prepping the vehicle’s surface (using clay bar, isopropyl alcohol, soapy water), to measuring, trimming, applying slip solution, and using consistent pressure and heat to conform the film to curved surfaces, can make the difference between a flawless finish and one full of flaws.
Throughout this article, we’ll walk you step by step through the paint protection film install process, preparation, application, and final touches, showing you what’s involved, what to watch out for, and how installing quality protective film delivers long-term protection and enhances your car’s appearance.
Installing Paint Protection Film: Basic Steps

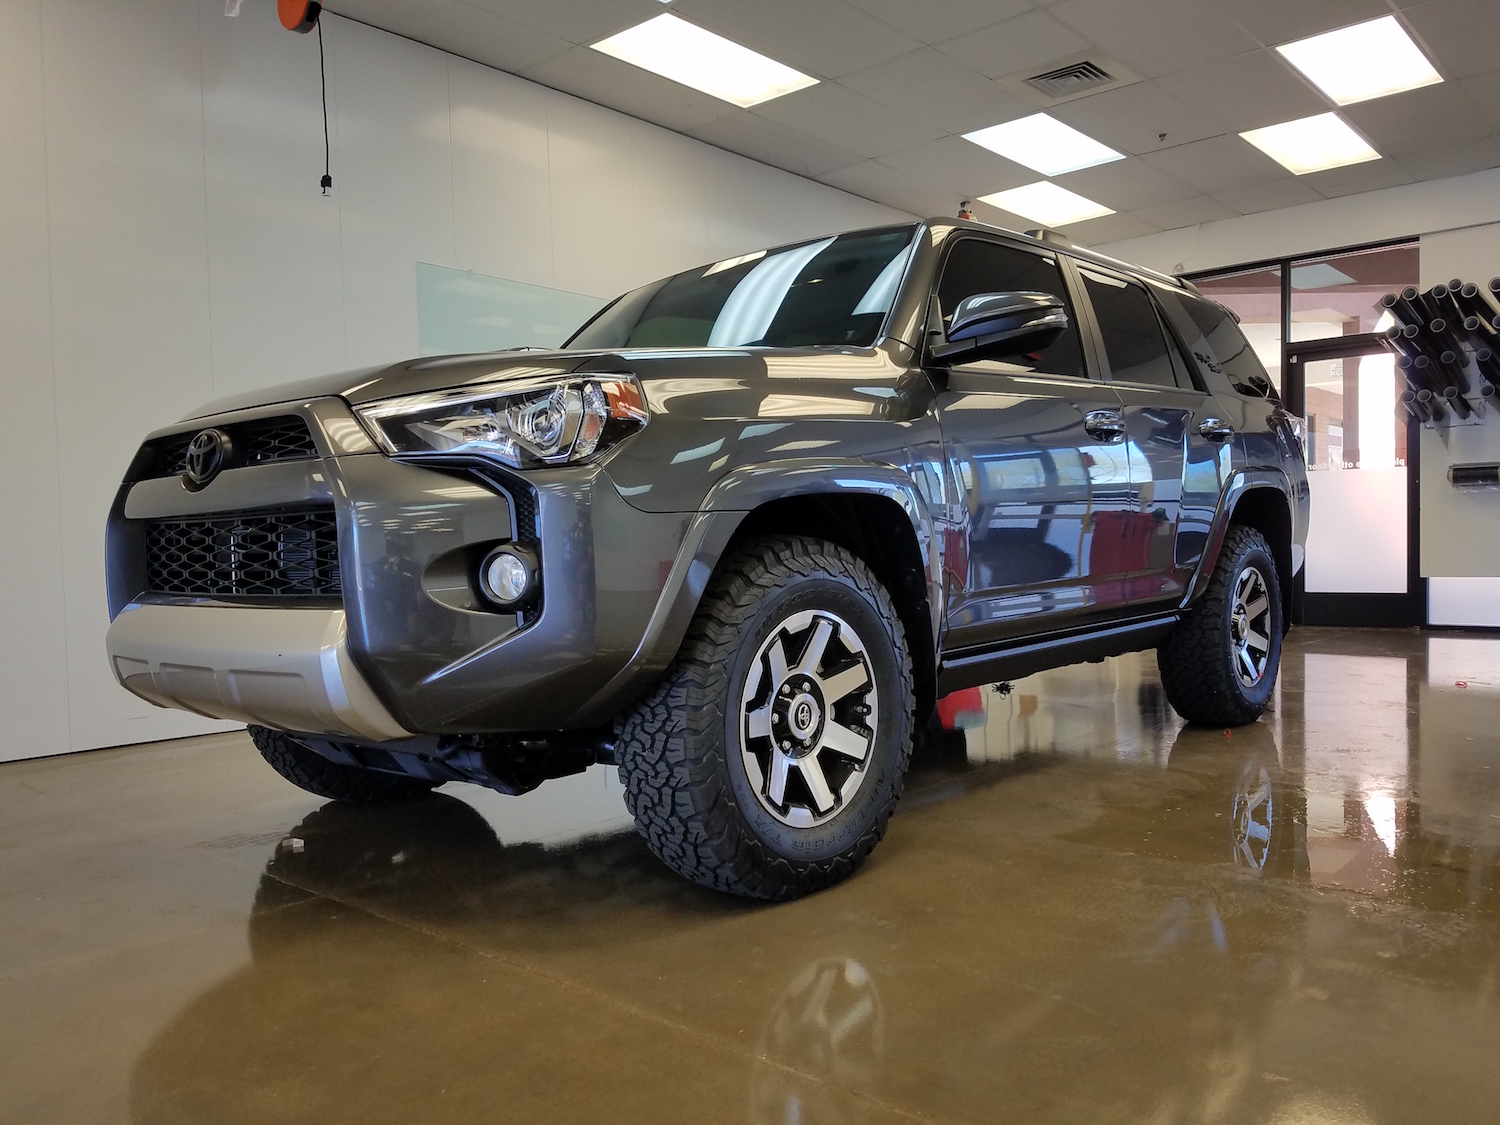
Premium car owners driving Teslas, BMWs, Audis, Lexus models, or lifted trucks understand the value of long-term protection. After all, these vehicles are not just modes of transport; they’re lifestyle statements and often carry a high resale value.
That’s why installing paint protection film the right way matters. Let’s explain the stages of the installation process with real-world examples and pro-level insights.
Step I: Planning and Preparation
Think of this stage as laying the foundation for a house. Without careful planning, everything else suffers. A professional PPF installer evaluates which parts of your vehicle need the most coverage: front bumpers for Teslas prone to highway rock chips, the hood of a BMW M4 that faces high-speed road debris, or the side mirrors of a lifted truck that often catch tree branches.
A measuring tape, templates, and even digital cutting software may be used to ensure precise trimming. The installer also reviews manufacturer guidelines, since certain vehicles, like Porsche’s curved hoods, require unique techniques. Skipping this step or “eyeballing it” often leads to excess film, misalignment, or worse, lifting edges later down the road.
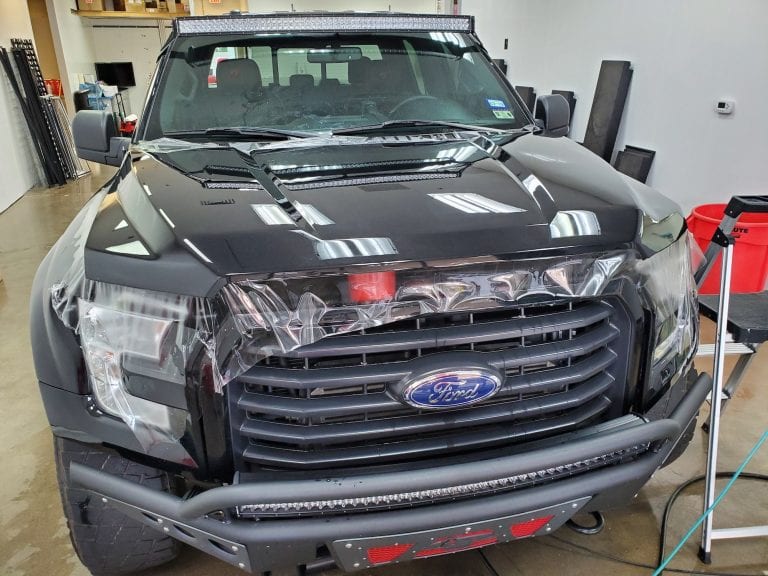
Step II: Surface Preparation
Imagine applying a sticker to a dusty laptop; it never lies flat, right? The same logic applies here. Before applying the protective film, the car’s surface must be pristine.
First, the vehicle is washed with a soap solution, then clayed to remove embedded contaminants. Next, isopropyl alcohol wipes the painted surfaces clean of oils, waxes, and dust particles. For example, if you just had a ceramic coating applied, failing to remove residues can prevent the adhesive side of the PPF from bonding properly.
Skipping this stage can lead to common mistakes like air bubbles, small wrinkles, or trapped dust, imperfections that compromise the flawless finish premium car owners demand.
Step III: Slip Solution
Here’s where the magic begins. A slip solution, usually soapy water or a specialized installation gel, is sprayed generously over the vehicle’s surface and the adhesive side of the PPF. This allows the film to glide into position, almost like floating puzzle pieces that you can move until they lock into place.
Picture applying a screen protector on your iPhone, you wouldn’t want it to stick before you’ve centered it perfectly. The slip solution gives installers time to adjust, align, and stretch the film over curved surfaces like headlights or fenders without worrying about premature adhesion.
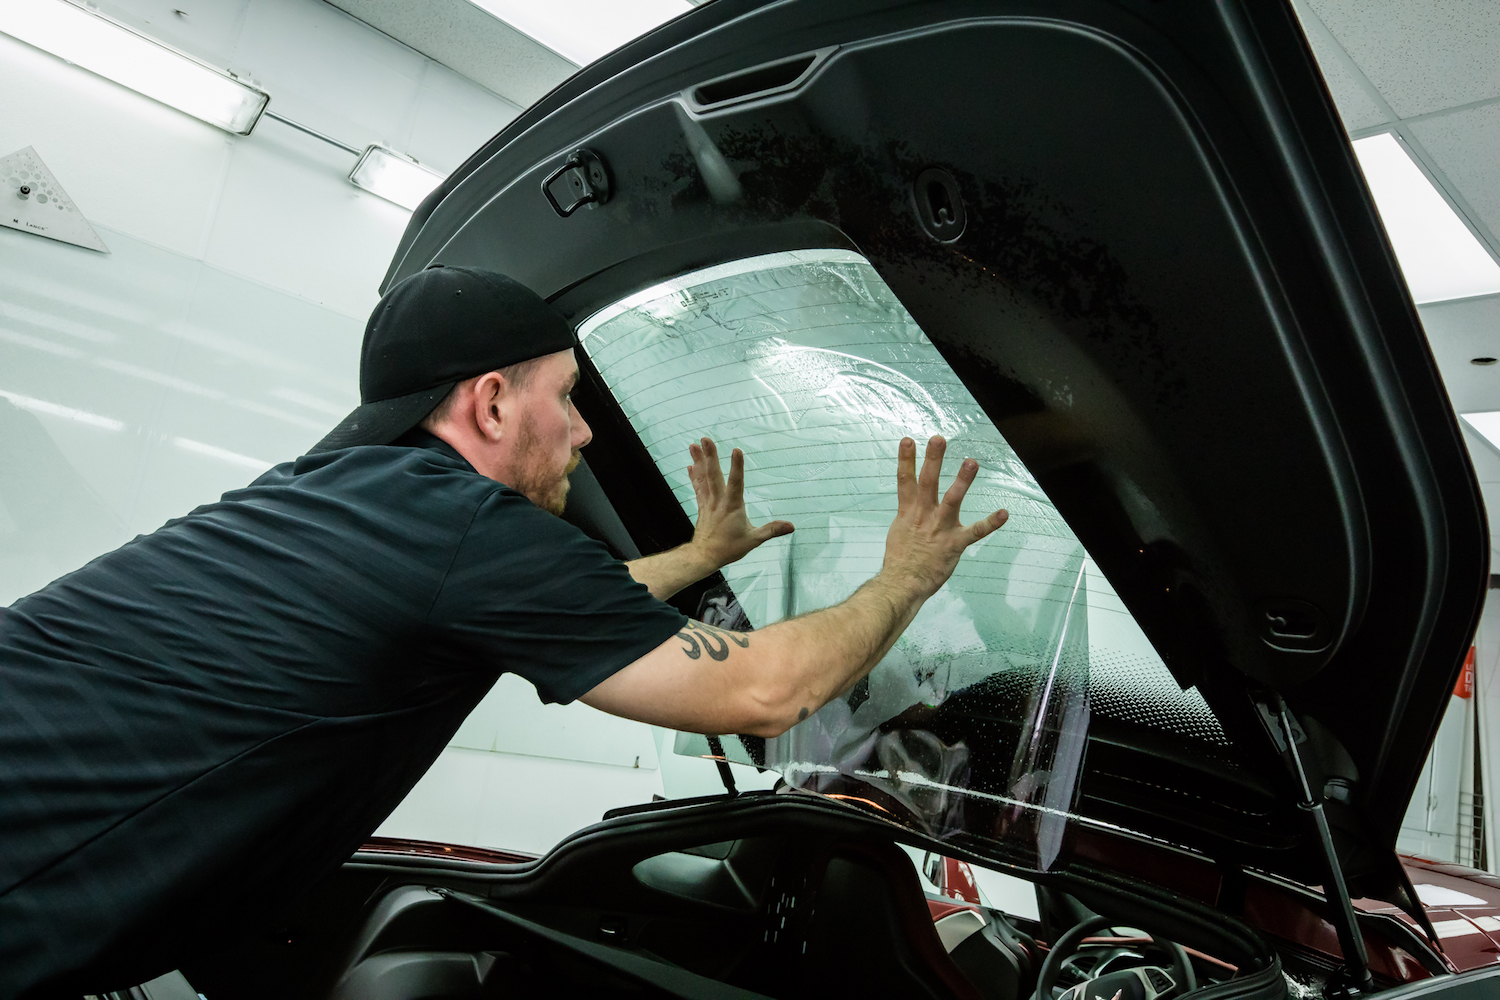
Step IV: Laying the Film
At this stage, the clear bra (also known as PPF) is carefully draped across the car’s surface. Let’s say you’re installing film on a Lexus RX hood; its larger surface area means more room for error. A professional will gently lift and reposition the film if necessary, using overlapping strokes to avoid creases.
Here’s where tools matter: a heat gun can help the film conform to tricky areas. At the same time, consistent pressure ensures there’s no excess material. Rushing here can cause lifting edges, a nightmare for any perfectionist car owner.
Step V: The Squeegee
A soft squeegee becomes the hero tool. Starting from the center and working outward, the installer applies consistent pressure to push out excess slip solution and air bubbles. Think of it as ironing a shirt; you’re smoothing everything until it looks sharp and flawless.
For example, on the curved front bumper of an Audi S5, overlapping strokes with a squeegee ensure that every corner and contour is bubble-free. Done right, the PPF becomes almost invisible, giving the car that glossy, factory-like finish.
Step VI: Drying and Curing
Once applied, the installed film needs time to set. Depending on the climate and humidity, this may take a few hours to several days. Parking in direct sunlight may help accelerate curing, but installers also caution against washing the vehicle too soon.
During this stage, self-healing properties activate, minor abrasions and swirl marks disappear as the film adjusts and bonds fully. Premium owners often marvel when scratches from road debris seem to “melt away” after a sunny day.
Essential Materials and Tools
Imagine asking a chef to cook a gourmet meal without sharp knives or proper pans; the outcome won’t be the same. The same applies to PPF installation: without the correct materials, even a professional can run into problems like air bubbles, lifting edges, or uneven coverage.
Let’s explain the essential items every professional PPF installer relies on.
Paint Protection Film
The star of the show is the paint protection film itself. High-quality, automotive-grade PPF offers crystal clarity, self-healing properties, and resilience against rock chips, swirl marks, and UV rays.
For example, Tesla owners often choose full-hood coverage to prevent stone chips during long highway commutes. At the same time, BMW drivers protect high-impact areas like the front bumper.
Premium film not only safeguards your vehicle’s paint but also maintains a glossy finish that enhances resale value.
Slip Solution
This simple mixture, usually water with baby shampoo or a dedicated gel, acts like a lubricant during installation. By spraying it on the vehicle’s surface and the adhesive side of the PPF, installers can adjust the clear film into place without it sticking prematurely. Think of it like applying a phone screen protector: without a slip solution, repositioning becomes almost impossible.
Squeegee
A soft squeegee is the installer’s best friend. Starting from the center and working outward, it removes air bubbles and excess slip solution while securing the film tightly to the car’s surface. Done correctly, this step ensures a flawless finish without wrinkles or trapped moisture.
Precision Cutting Tools
Sharp cutting knives or pre-cut kits allow installers to trim excess film precisely, especially around edges and curves. For instance, on the sharp body lines of an Audi, precision cutting ensures that the installed film looks seamless while offering full coverage against road debris.
Heat Gun
Some areas, like side mirrors or curved bumpers, need extra help. A heat gun gently warms the PPF, increasing flexibility and making it easier to mold over complex surfaces. This step also prevents lifting edges, ensuring long-term protection.
Microfiber Towels
Finally, clean microfiber towels are essential before and during installation. They remove dust particles, smudges, and water spots without scratching the painted surfaces, creating the perfect foundation for successful application.
Preparing Your Vehicle’s Surface: Installation Process

Before applying a paint protection film, the most important step is to prepare your vehicle’s surface. A flawless foundation ensures the film bonds securely and delivers that sleek, seamless finish every premium car owner expects.
Thorough Cleaning
Begin by thoroughly washing the painted surfaces to remove dirt, dust, and grime from every inch. Any debris left behind can create air bubbles or imperfections under the protective film. For a deeper clean, a clay bar treatment removes embedded contaminants that soap alone can’t handle. The result? A smooth, glass-like finish that makes your car’s surface ready for film application.
Alcohol Wipe Down
Next, use an isopropyl alcohol solution with a clean microfiber cloth. This step eliminates oils, wax, or residues, giving the adhesive side of the film the perfect base to stick. Skipping this could lead to lifting edges or uneven adhesion over time.
Drying the Surface
Finally, let the car dry completely. Even trace moisture can interfere with adhesion and compromise the installation process. Patience here ensures your PPF installation achieves the ultimate protection and a flawless finish.
Apply Paint Protection Film
Once your vehicle’s surface is fully prepped, it’s time for the most critical phase: applying the PPF. Think of this step as a choreographed performance; every move matters.
Precision during application ensures the protection film fits seamlessly, enhances your vehicle’s appearance, and provides long-term defense against rock chips, swirl marks, and road debris.
Step 1: Positioning the Film with Slip Solution
The process begins by spraying a slip solution, usually soapy water or a dedicated installation gel, onto both the adhesive side of the film and the targeted area of the car’s surface. This solution acts like a lubricant, allowing the PPF to glide smoothly across the painted surfaces.
Premium installers often compare it to applying a screen protector on a phone: you have one chance to align it perfectly. On complex shapes like a Tesla’s curved hood or an Audi’s sporty bumper, this flexibility is key to avoiding early adhesion and misalignment.
Step 2: Squeegee from the Center Out
Once positioned, the installer uses a soft squeegee to secure the film. The golden rule here is center-outward strokes. This technique removes air bubbles and excess solution while ensuring consistent pressure for flawless adhesion. If skipped or rushed, moisture pockets can form, leaving behind visible blemishes that ruin the car’s pristine look.
Step 3: Heat Application for Complex Curves
Curved surfaces, side mirrors, fender flares, or a BMW M3’s aggressive front bumper require finesse. A heat gun on low settings gently softens the film, making it pliable enough to wrap snugly around contours.
Apply too much heat, and you risk warping the clear film; too little, and the PPF won’t bond. Professionals master this balance, molding the PPF like clay for a perfect installation on every angle.
Step 4: Trimming and Securing Edges
Once the film is laid down, excess material is carefully trimmed with precision knives or pre-cut kits. Sharp edges are a danger zone; cutting too close can cause peeling, while sloppy trimming leaves visible overhang.
After trimming, installers reapply gentle heat and squeegee strokes to lock edges in place. This step is critical to prevent dirt, moisture, or dust particles from sneaking under the installed film.
Step 5: Inspection and Quality Check
No job is complete without a meticulous inspection. Installers scan for lifting edges, stubborn air pockets, or streaks that could compromise long-term protection. Small imperfections corrected now mean years of peace of mind later.
Final Touches: Protecting Your Investment
After a paint protection film installation, patience is key. The film needs 24–48 hours to cure. During this time, avoid washing the vehicle or exposing it to harsh elements.
Once cured, regular cleaning with mild soap and a clean microfiber towel will keep your PPF glossy and free of swirl marks. Avoid harsh chemicals or abrasive brushes that can compromise its self-healing properties.
Premium car owners who follow these steps enjoy more than just a shiny finish; they enjoy ultimate protection and increased resale value. A flawless PPF installation ensures that your Tesla, Lexus, or lifted truck not only looks pristine but also resists the wear and tear of daily driving.
With the right technique and tools, or better yet, the expertise of a professional PPF installer, your vehicle receives a flawless finish that blends beauty and durability.
Contact Us!
Our expert window tinting and paint protection film services in Mesa, Tempe, Gilbert, and the surrounding Arizona metro area will keep your car cooler, protect your loved ones from UV rays, and maintain its pristine condition. Visit their website or shop to explore the perfect tint for your vehicle! Get a free quote.